
How To Install a Floating Shelf Bracket
Sheppard Brackets can be used in so in many different areas, making it hard to provide an all-inclusive installation guide. Instead, we have pulled together some helpful tips, images, and tutorial videos for installing a floating shelf bracket.
Mounting Floating Shelf Brackets to Wall:
· All brackets are best when mounted into studs. Fortunately, the design of Sheppard Brackets makes it possible to hit every single stud that falls behind the bracket.

Sheppard Brackets Heavy Duty Floating Shelf Bracket with StudLock MultiMount Technology
· If the placement of your bracket only includes one stud, we highly recommend using drywall anchors on either side of the stud, in addition to securing it to the stud to make the bracket as strong as possible.
· If mounting to stone is what your project requires, use concrete/stone anchors just as you would mount anything else to stone. Follow those anchor instructions.
· If installing on a tile wall, install the bracket first and then tile around them if possible.
· We typically recommend a #8 x 2.5” wood screw for mounting to stud walls. If you are installing a floating mantel, floating bench, or floating desk bracket, or if your floating shelf will be deeper than about 12” and will hold a lot of weight, we recommend using ¼” lag screws in place of the screws listed above. This will add to the weight-bearing capacity of the bracket.
Actual Installation of a Floating Shelf Bracket:
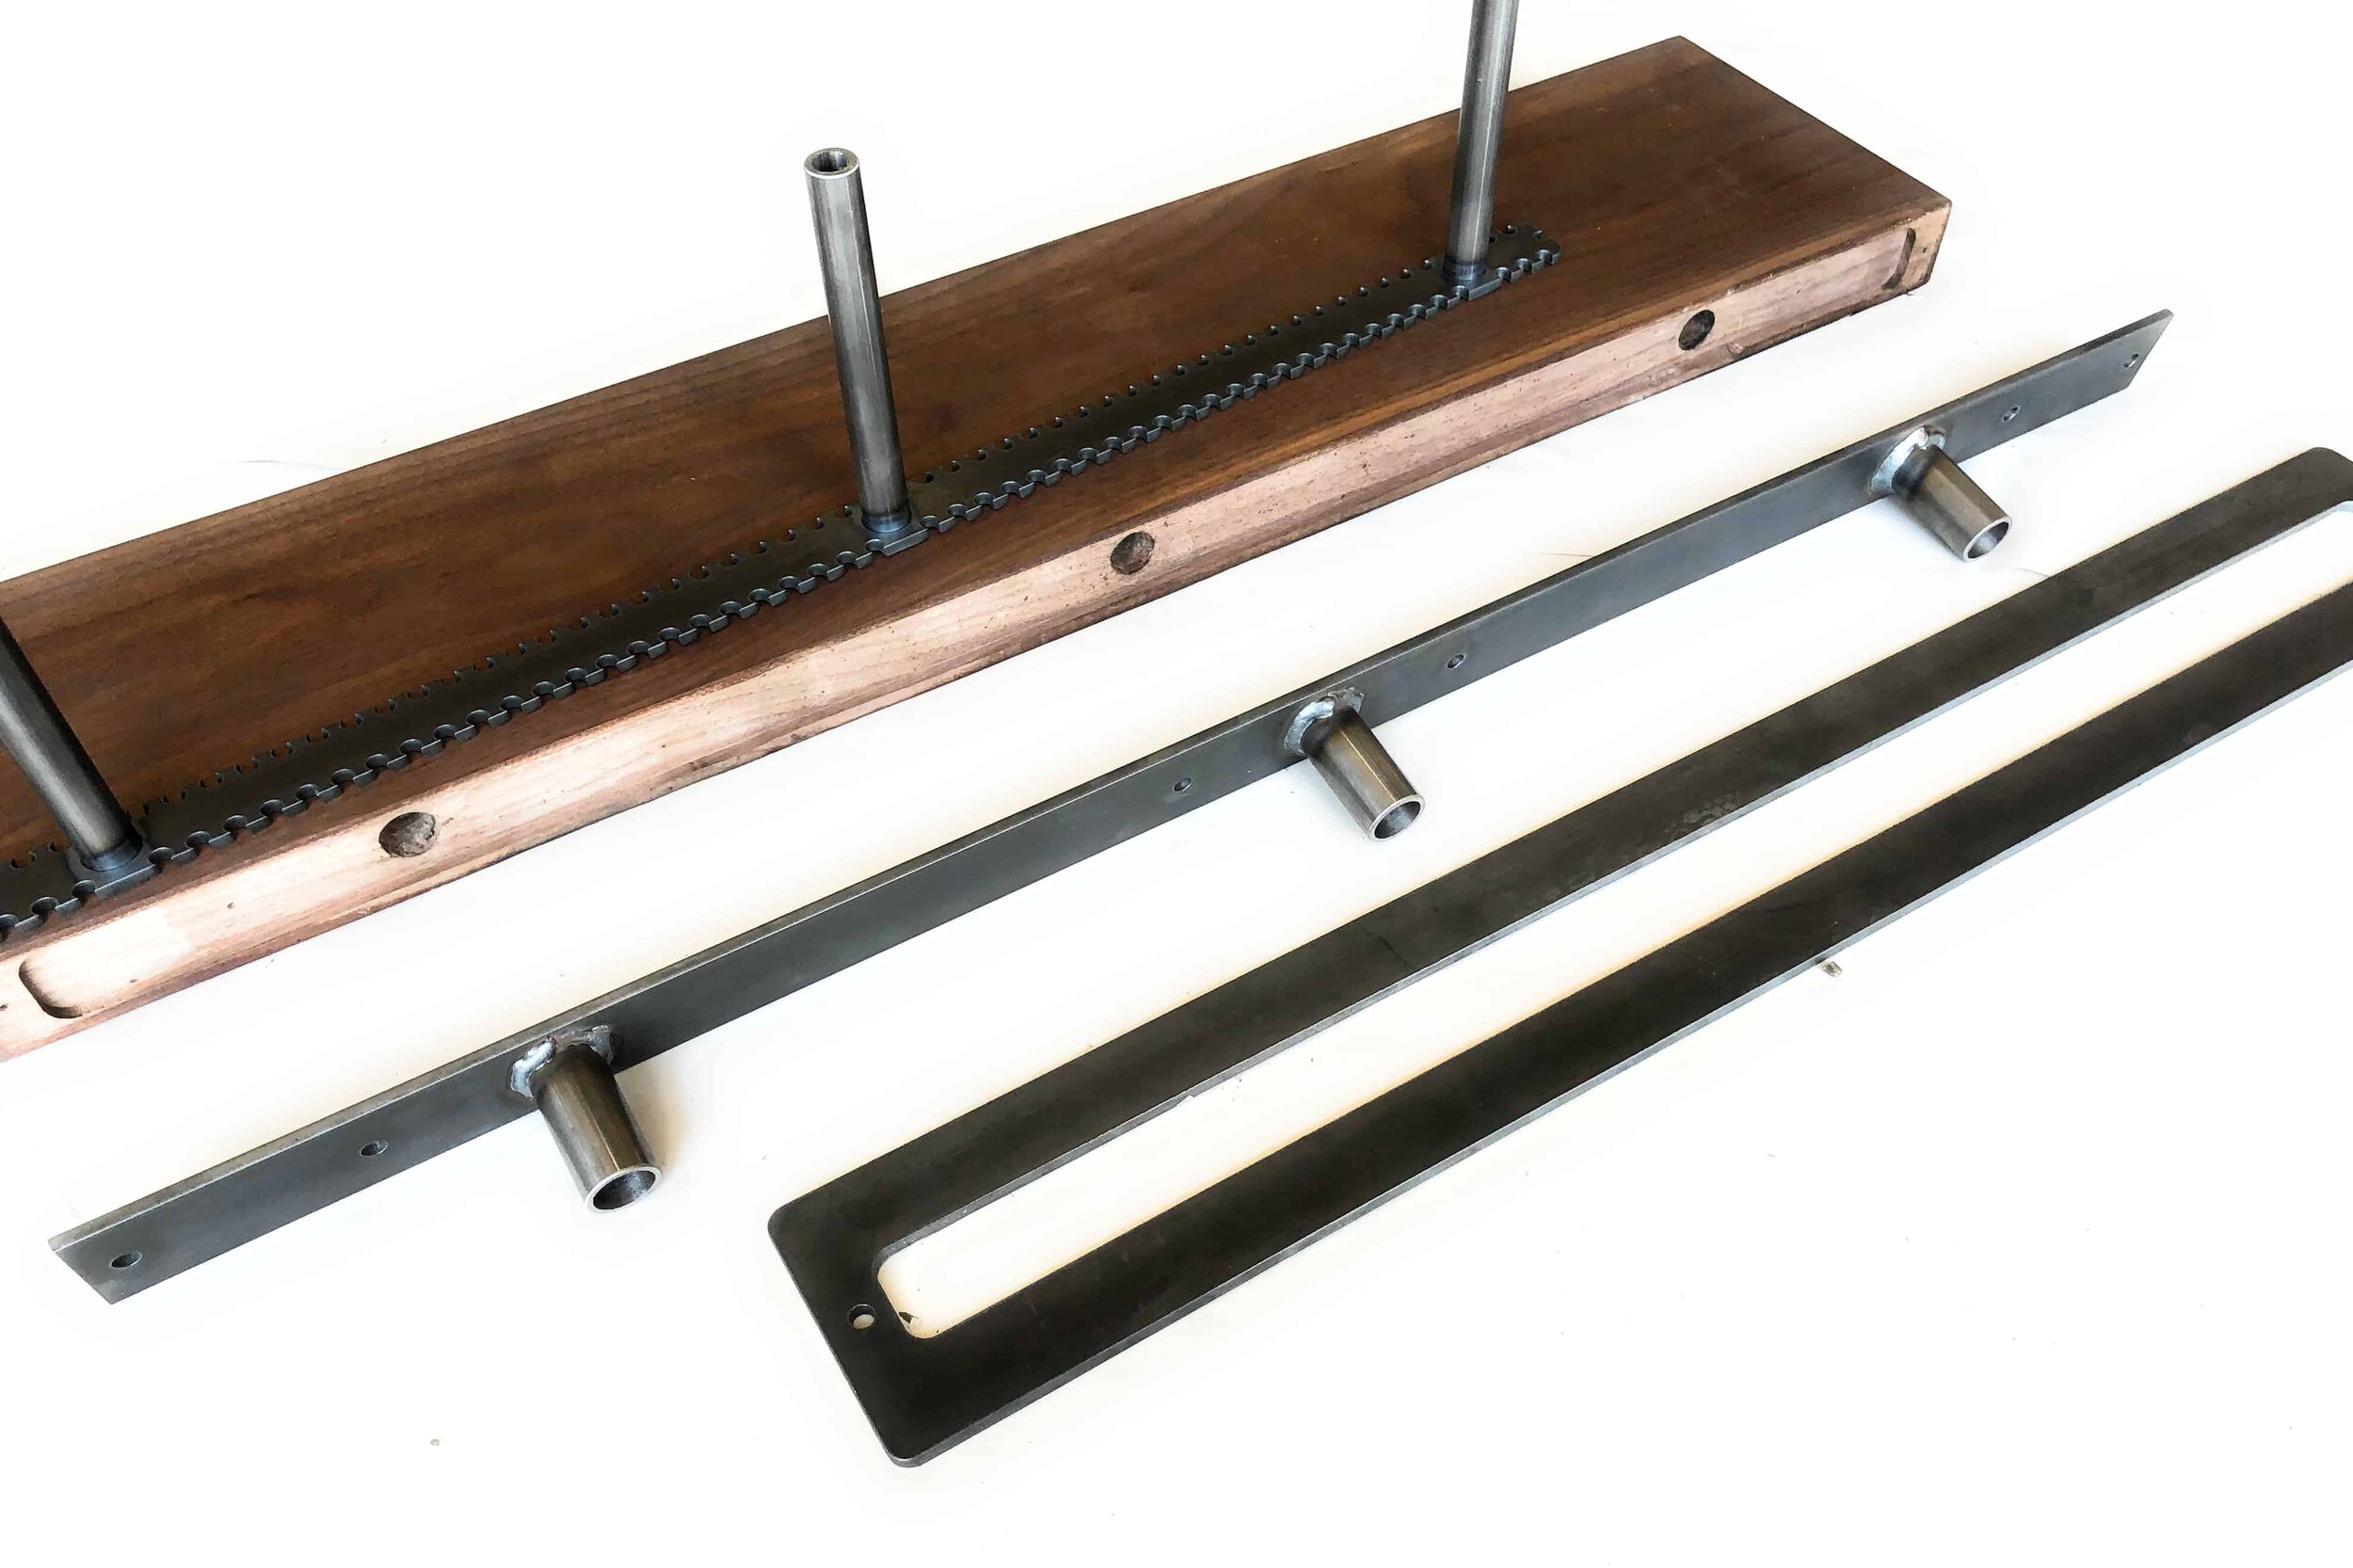
Floating Shelf Wonder Tools and Floating Shelf Bracket
· With Sheppard Brackets floating shelf hardware, you can position your floating shelf nearly anywhere on any wall. You are able to hit every single stud with our revolutionary StudLock MultiMount system that has been precision cut using the latest in CNC technology.
· Sheppard Brackets manufactures both drilling templates and routing templates to ensure perfect shelf preparation and an absolute flush mount to the wall. To check out these wonder tools, look here. We also sell the perfect drill bits and router bits for this preparation work here.
· To see how easily and quickly you can prepare a solid wood floating shelf for installing and then install it go here and watch this video.
To see how easily and quickly you can prepare a solid wood floating shelf for installing and then install it watch this.
· Our rods come in multiple lengths and outer diameters to fit virtually any project you are working on.
· If desired, construction adhesive can be applied to the rods before installing the shelf for a permanent mount.
Selecting the Actual Floating Shelf:
· Check out our shelf kit listings on our website for premium wood shelving that come complete with a pre-drilled and routered solid-wood shelf and appropriate Sheppard Brackets floating shelf bracket.
· If you already have your own shelf or want to purchase a shelf elsewhere, we still have you covered. If you are looking for a great place with high-quality wood and fantastic customer service, we recommend RadfordPinesHomeDecor.
· The backplates for our brackets come in many heights from ¾” up to 3” and over for custom orders.
· We recommend that shelves are at least ½” thicker than the height of the backplate. This allows for complete countersink of the bracket into the wood if you choose to router the shelf for a true flush-mount floating shelf. See the table in our FAQs for a more detailed explanation. If you choose to mount the shelf without routering a pocket for the bracket, that should be enough to hide the bracket sufficiently when viewed from straight on.
· Sheppard Brackets also sells a bracket for hollow floating shelves. Although it is made of heavy-duty material, we believe that you will be much happier with the high-quality solid wood shelves and our heavy-duty floating shelf brackets.